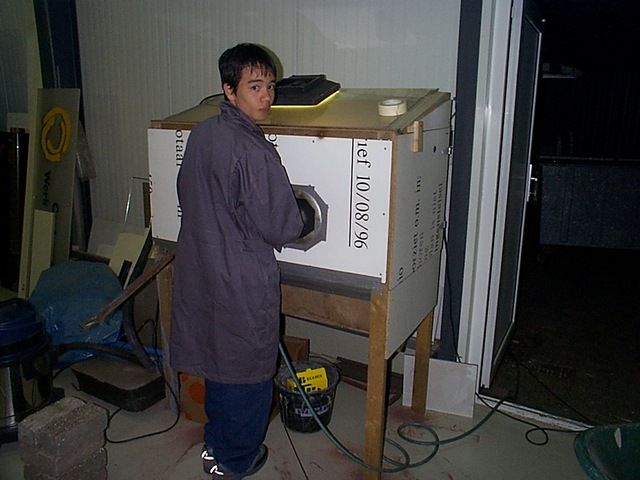
Sandblasting Cabinet


It is heart-warming to see how many people are willing to lend you a helping hand as soon as they hear you are restoring a Kombi. A friend of my mate Niek happened to have a sandblast cabinet at work, which he generously offered us to use to sandblast all the small parts of the van.
Obviously, we embraced this free sandblasting opportunity, but after our first day of sandblasting we quickly realised that sandblasting is a time-consuming job, that is not worth a 60 kilometres roundtrip every time you need to sandblast a part.
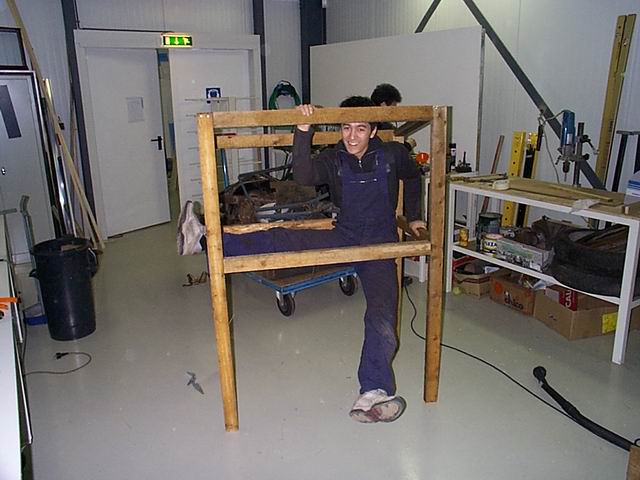
Although we had never seen a sandblasting cabinet in our lives before, we decided to build one ourselves; obviously much simpler than a professional one, but just as effective! Using only wooden beams and chipboard, you can build yourself a decent sandblast cabinet.
Preferably repurpose some old building materials, it saves you money and it will get dirty and damaged anyway. Please refer to the list below, with basic material you will need to build your own cabinet:
- Wooden beams (approximately 10m in length and not to thin e.g. 30x50mm)
- Chipboard (for example from an old closet)
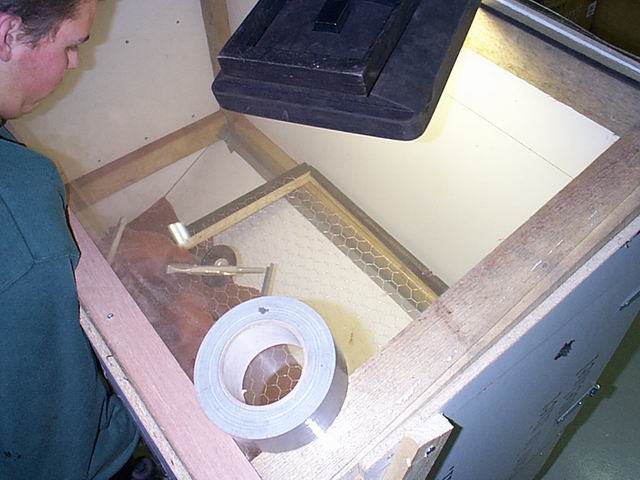
- Wire mesh (fix this to a frame so you will have something to putt the work piece on)
- Glass and a glasscutter
- Compressor (min. 6 bar/90 psi)
- Light (to light inside of the cabinet and the part you’re sandblasting)
- Sandblast gun and extra nozzles (they wear)
- Piece of garden hose (about 50 cm, used to suck up the sandblasting sand)
- 10 kg of sandblasting sand
- Thick rubber gloves
- Old vacuum cleaner (used to suck out the dust that is created while sandblasting)
Final tip: make sure the bottom of the cabinet is in an angle or tapered so the sandblasting sand will keep collecting at the bottom of the cabinet. Keep the inlet of the garden hose at the bottom so you will have a constant supply of grid to the gun.