Face On
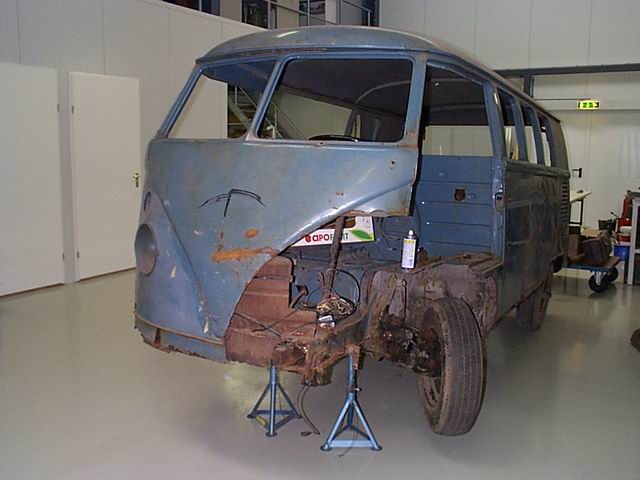
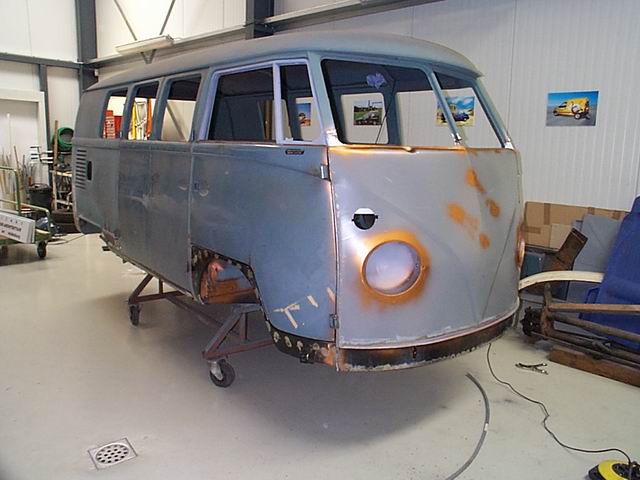
Nice to see you again and welcome to operation 'Face On'. When purchasing this Kombi we already noticed that she had some 'minor' damage to the left front corner. We strongly suspect this was caused by a Genius Grindius, or more common; a retard with a grinder. Luckily the missing corner came with the bus when we bought it! Again it is proven that problems are not solved but moved, as I'm sure there's somebody out there looking for a left front corner now...
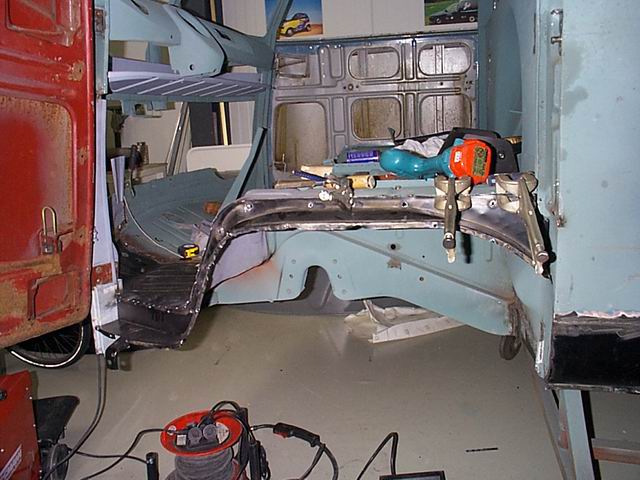
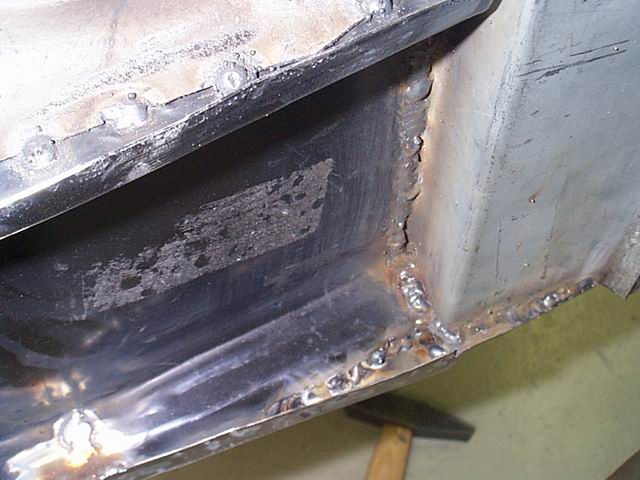
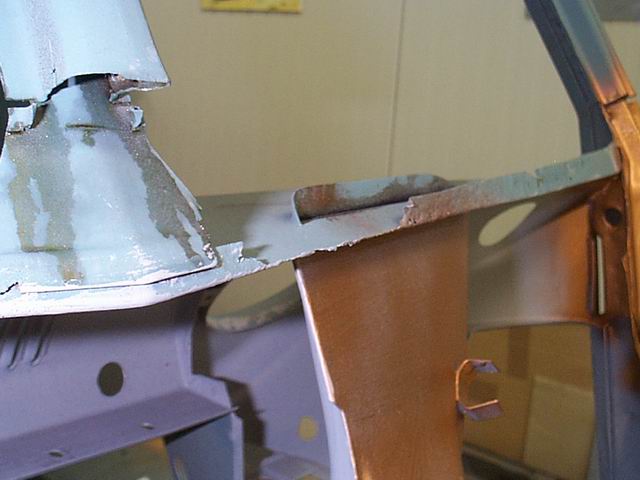
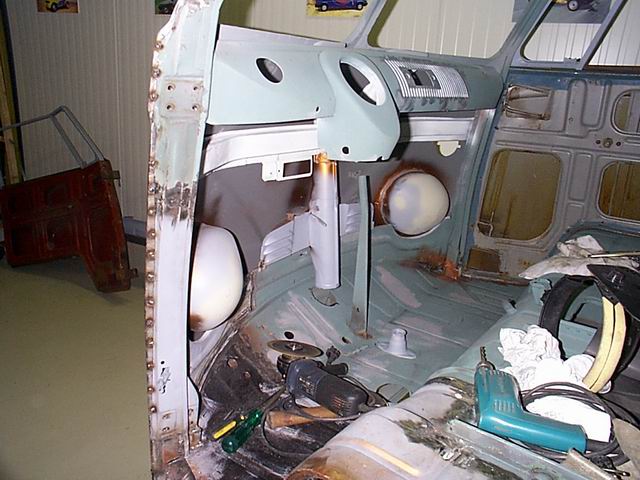
First of all, we started by making an inventory of what bits and pieces we had available to make up the front. I started by grinding the loose corner apart into separate pieces consisting of the floor panel, bits and pieces of the wheel arch and the lower doorpost, after which they were all sandblasted and primed. After desperately trying to fit the pieces and trying to find some kind of relationship with regards to the front panel and door, putting this corner back together was going to be one of the biggest challenges of the project.
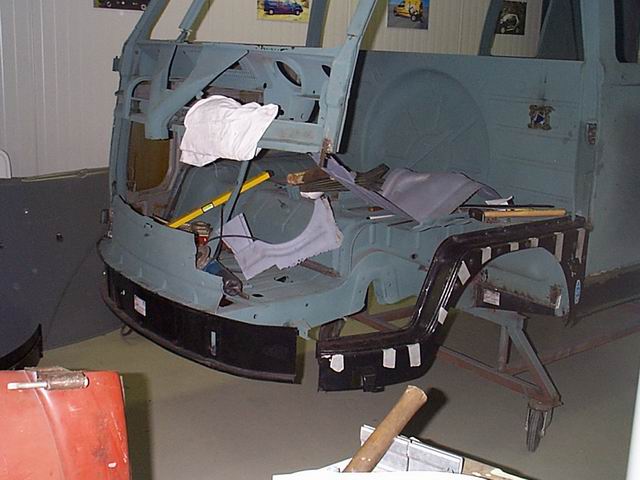
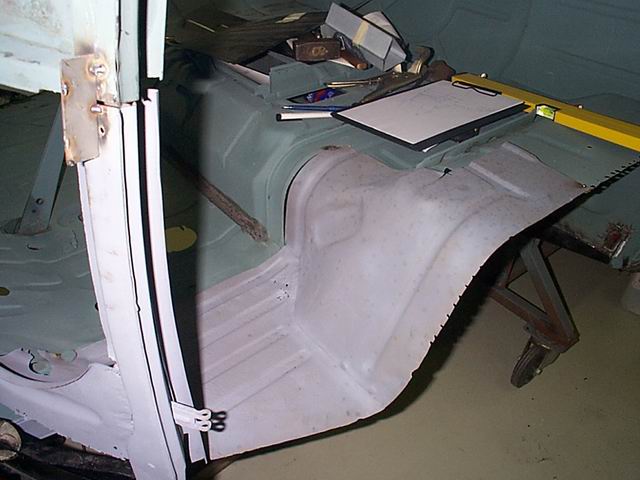
Eventually I managed to align all the separate pieces with the help of the new front wheel arch and the lower, inner front panel. By accident I stumbled across a brand new left floor section, which made the job slightly easier.
I used the front door to find the right angle of the doorpost while constantly trying to open en close the door after each re-alignment to make sure it would fit in every position. After hours and hours of positioning, re-positioning, welding, grinding, etc. I finally got to the point where everything seemed to fit and work. The front door closed nicely, which is supposed to be one of the fundamentals of a door.
The replacement wheel arches appeared not to fit very well, since it seemed almost impossible to line them up with the front doors. This made me decide to take the wheel arches apart by drilling through the spot-welds that held the inner and outer wheel arch together. This allowed me to first fit the inner wheel arch and than adjust the outer wheel arch to align with the door and ensure a proper fit of the door seal.
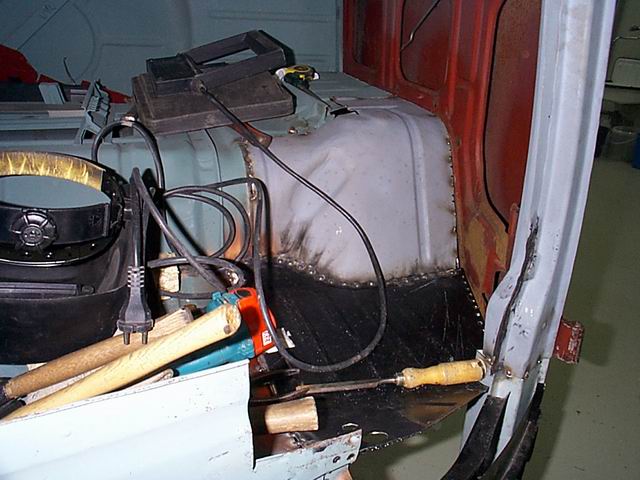
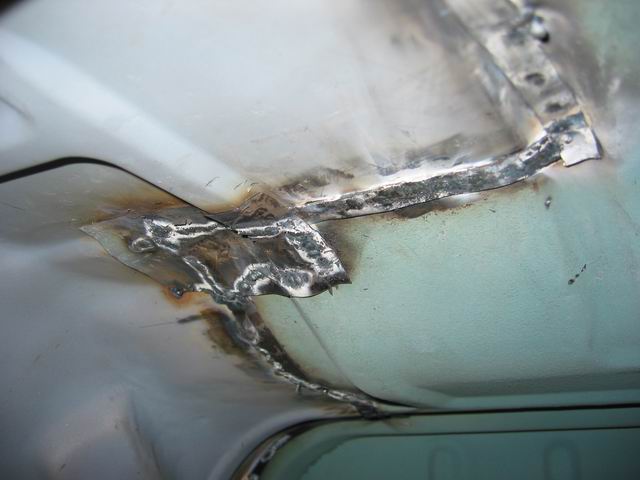
Putting the floor back together also turned out to be a bit more challenging then suspected; several bits and pieces were missing, which led to cutting many different pieces out of sheet metal and some very creative welding.
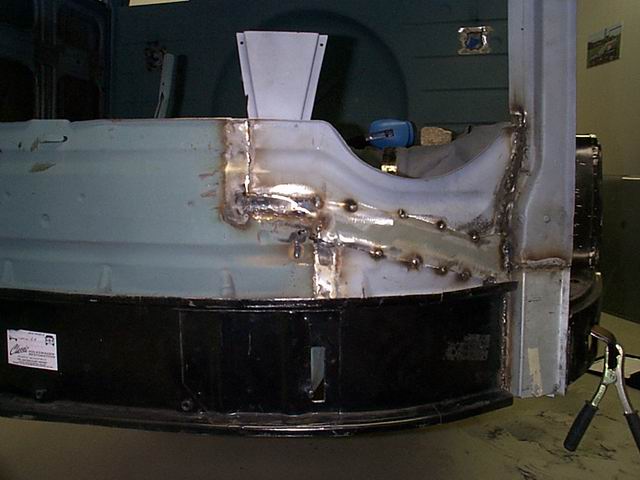
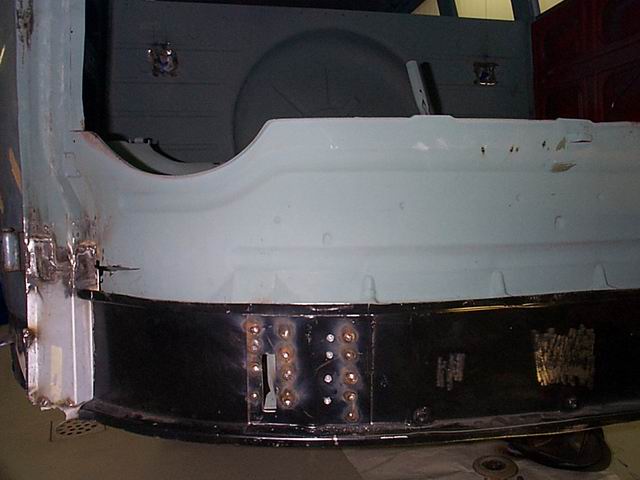
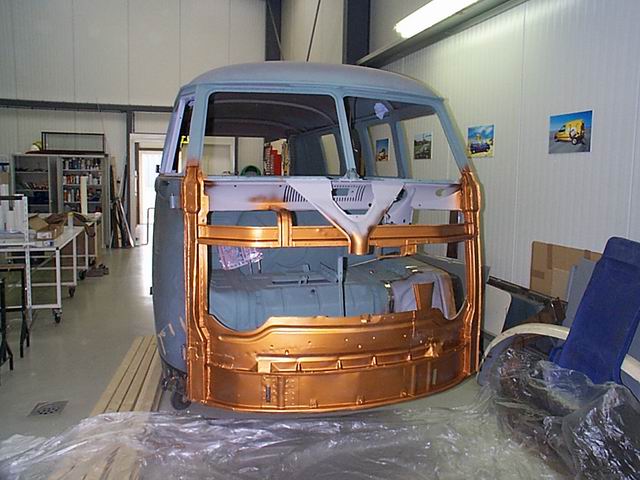
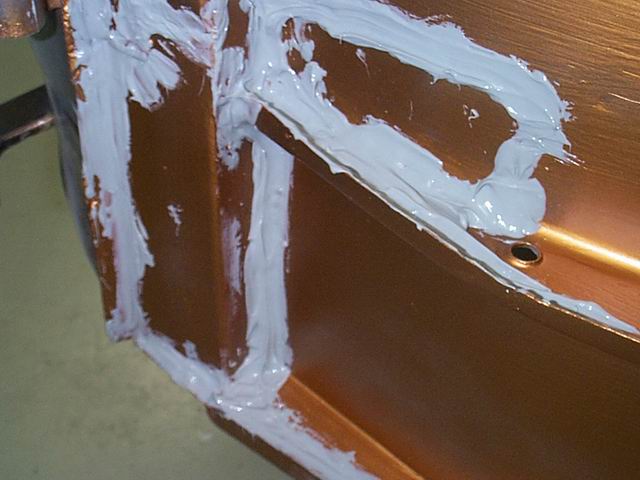
Now that all the structural parts have been put into place, it's time to install the lower, inner front panel. I used spot-welds to attach the front panel to both the chassis beams. Make sure you finish with a good primer after the panel has been welded into place; you will not be able to reach this place once the lower, outer front panel is installed. Next, all corners, seams and potential water retaining areas have been sealed with body sealant to prevent them from collecting water and rust. After finishing the inner panel, we installed the lower, outer front panel, which is done by spot-welding it on the upper and lower edge of the inner front panel.
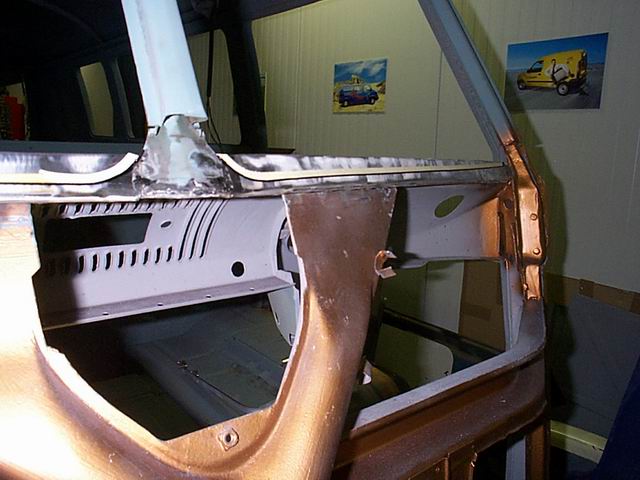
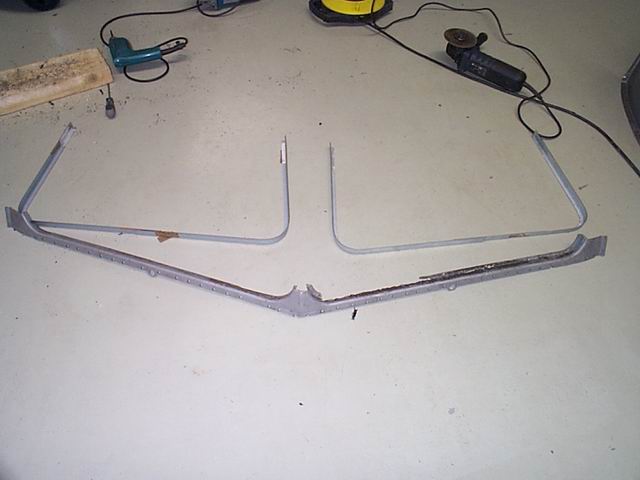
We're almost at the point of installing the front panel, but not before we repair the lower front window frames. They definitely required replacement, since they were entirely rusted away! After grinding the original pieces of window frame from the old front panel, we started replacing the frame bit by bit. I also strongly suggest to reinstall the heater ducts (in case you removed them) before you install the entire front panel!
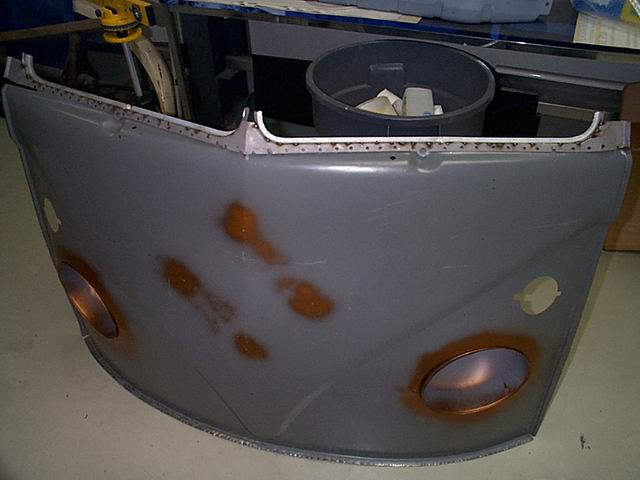
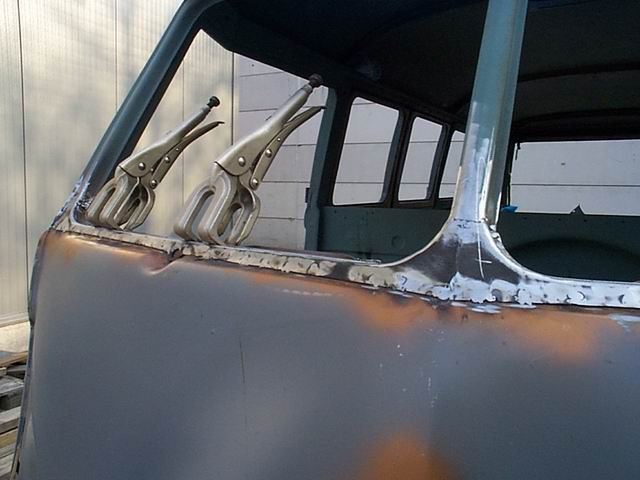
Finally we have reached the point where we can install the front panel; the edges of the replacement front panel have been designed for to be folded around the edges of the doorposts, just like the original panel was. Basically all you will be doing to fit the front panel is using a hammer and a little anvil to hammer the panel’s edges around the doorposts. Once done, drill some holes to add some spot welds to ensure it all stays in place.
After the front panel has been installed we fitted the outer, front window edges. Make sure to test if the glass fits, before welding the entire edge into place. It is pretty hard to shrink your windows…
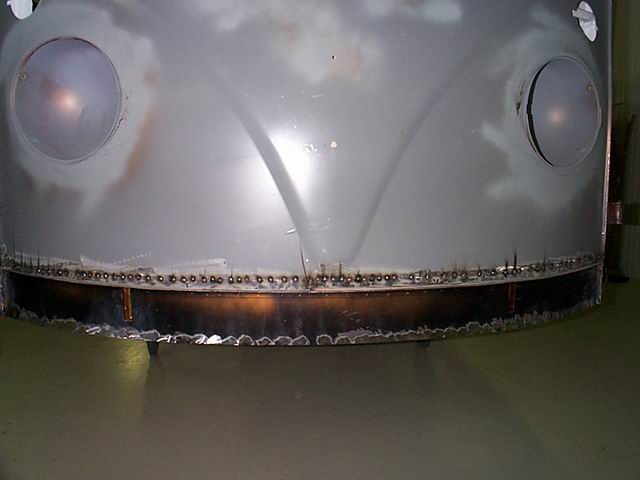
It all looks as if fitting the front panel was an effortless job without any problems. Sadly this is not completely true; the new front panel appeared to be off-grain. Please check the distance from the bottom of the headlights to the bottom edge of the front panel. My panel had a 15 mm difference between the left and right headlight, which caused me a lot of trouble. I ended up grinding the lower edge off the panel and filling up the missing 15 mm with separate pieces of sheet metal, after which I fitted a new fold around edge. Time consuming and not necessary when you have a good quality front panel.
