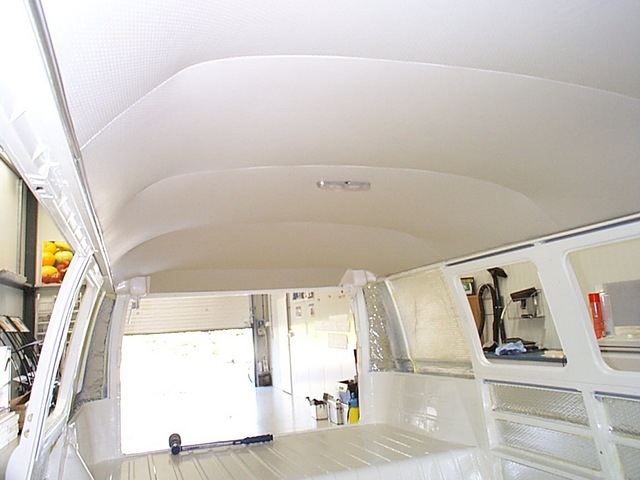
Headliner
Can or can you not install the headliner yourself? Likely to be one of the most disputed topics. Obviously not an easy task, but if you take your time and keep a pair of stress balls close by, you have a good chance of succeeding in doing the job yourself.
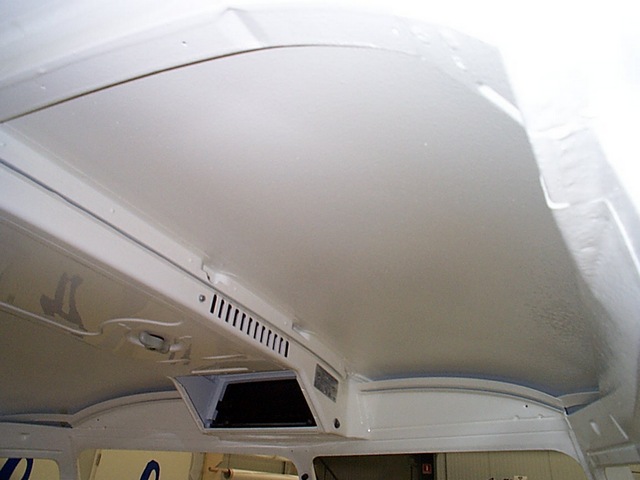
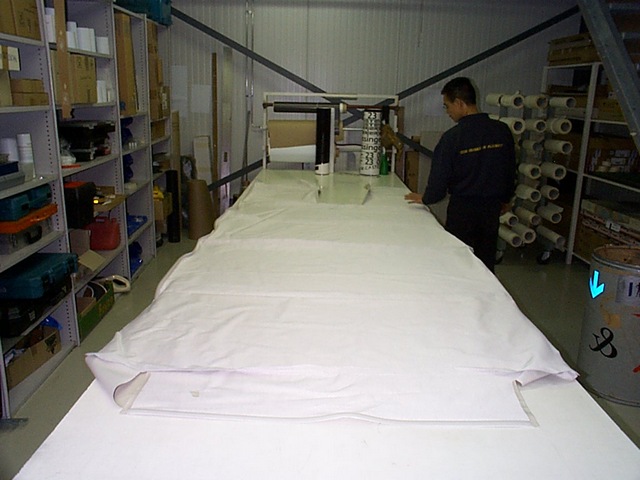
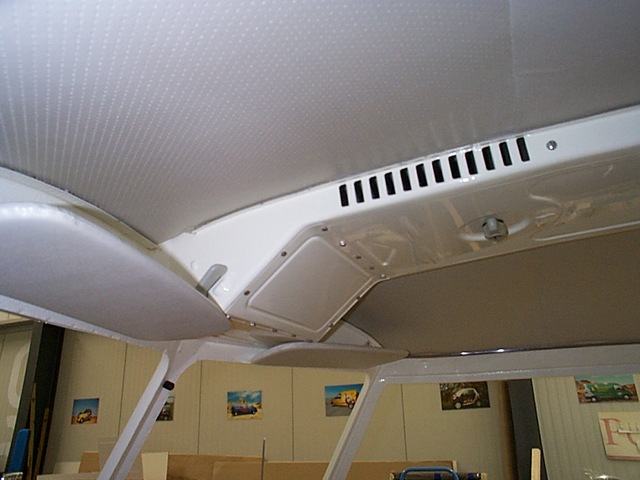
I do suggest that you buy a prepared headliner, for instance at Paruzzi. It still does not guarantee easy fitting, but at least it will save you the hassle from making one from scratch. All kombi's should have a rail in the cabin, meant for fitting the headliner. At the front you will find this above the sun-visors and alongside the vent shaft. Deluxe and Samba models should also have this rail at the back of the van, going all the way around, just above the windows.
The headliner is attached to the rail by sliding the plastic strips that are stitched to the headliner, into the rail. In case you do not own a Deluxe or Samba, this indeed works fine at the front, but there is no way you will be able to fit the headliner this way at the back. To overcome this problem, there are two options to fit the headliner:
- Weld a rail in place (before painting).
- Use contact adhesive to glue the headliner to the body.
In our case the decision was made to go with the second option, since our kombi just came back from spay painting... An additional advantage we experienced from gluing the headliner is that you have a lot more control over the tensions in the headliner fabric, which allows you to get all the wrinkles out of the headliner.
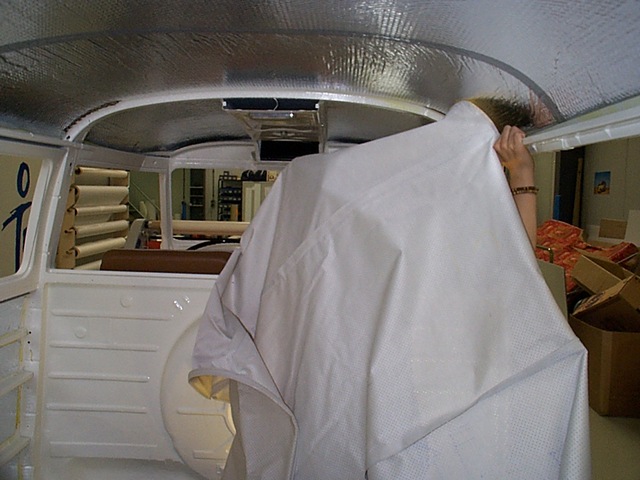
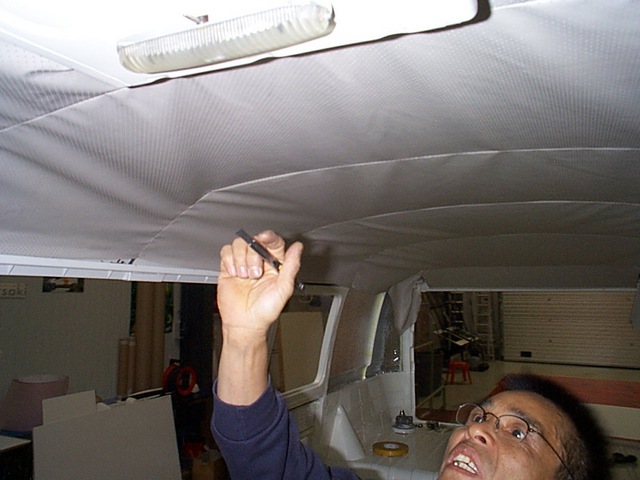
When gluing the headliner to the body, you will have to remove the plastic strip at the sides and the back of the headliner (leave the ones at the front!). We will be sticking the fabric to the edge that separates the roof from the body. Before we can start to install the headliner, check that the bows are the right size and adjust accordingly. Mark the distances between the bows on the body; ensure that the left and right side are aligned. Finally, to prevent the bows from rattling, install rubber caps on both ends of the bows.
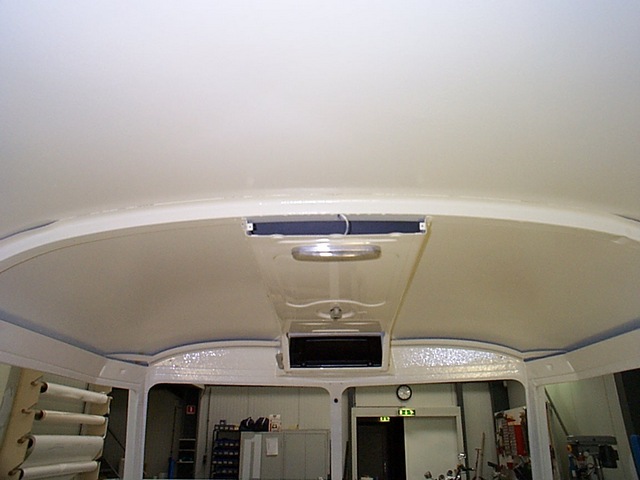
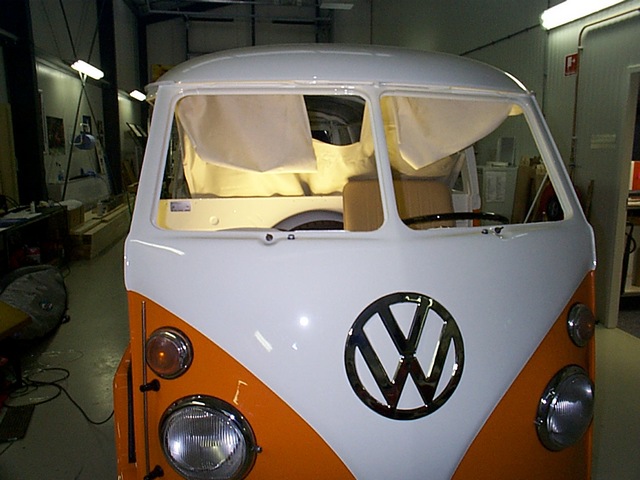
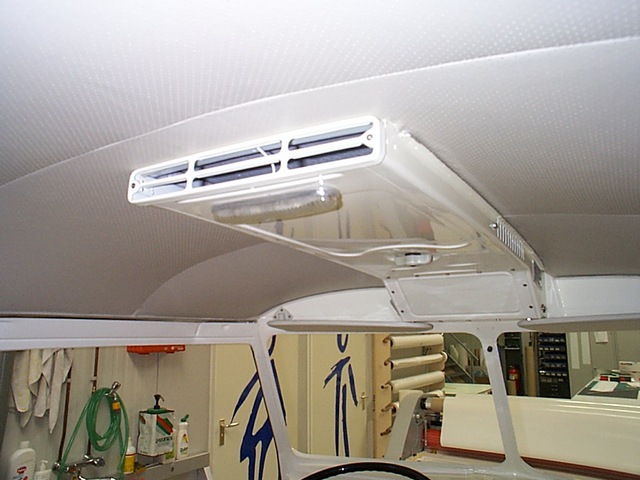
Start with fitting the front of the headliner; slide the plastic strips into the rails on the vent shaft, then the ones above the sun-visors. Secure the strip into the rails by gently tapping the rail with a rubber hammer, paying attention not to damage the new paint. As soon as you are satisfied with the fitting of the front, you can start positioning the bows and the back of the headliner. Use a small cup to carry the contact adhesive around, apply the glue onto both the body and the inside of the headliner, using a small, brush. DO NOT install the headliner yet, wait for approximately five minutes and reapply the adhesive on both surfaces, again wait 5 more minutes for this second layer to dry.
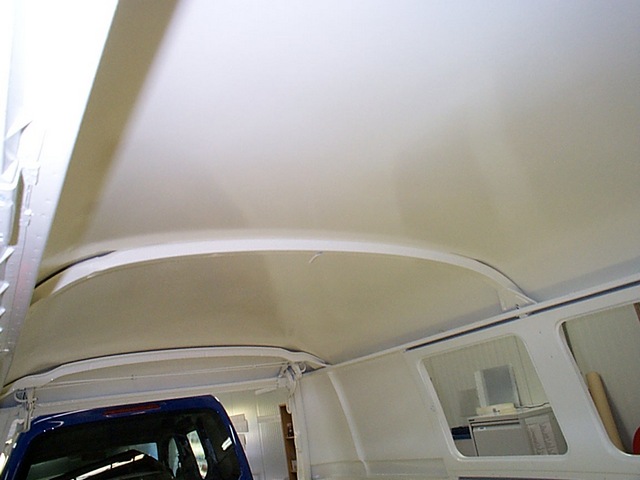
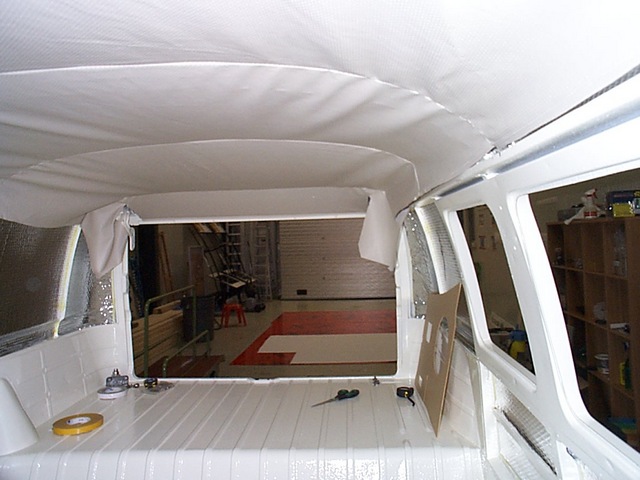
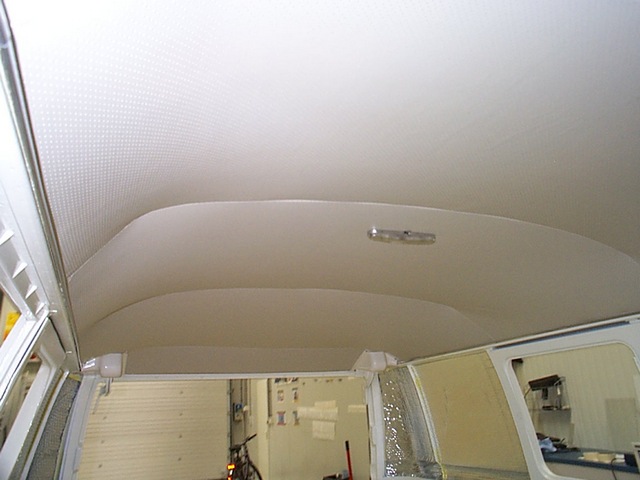
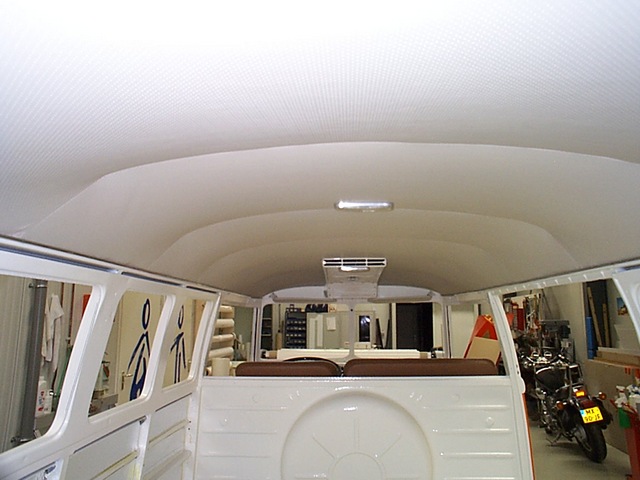
Install the headliner, starting from the sides at the vent shaft. Do not try to fit it all at once, but install the headliner bit by bit, continuously watching for wrinkles in the fabric; stretch the sides of the headliner to see what happens with the wrinkles. You will soon notice that the headliner fabric is pretty flexible and can be stretched to the best fit. If you are not entirely happy with the parts you glued together; firmly hold the headliner between your thumb and index finger, just underneath the glued part. Now pull back powerful, in a straight angle from the glued surface. You might have to reapply the adhesive before you can refit the headliner.
Minor wrinkles in the headliner can be removed using a hair dryer; carefully heating the fabric, which will cause the material to shrink. Watch out! Don't burn the headliner!
As the finishing touch we installed a chrome strip on the edge where we glued the headliner to the body, you may also decide to fold the fabric between the roof and the body
