Bumpers
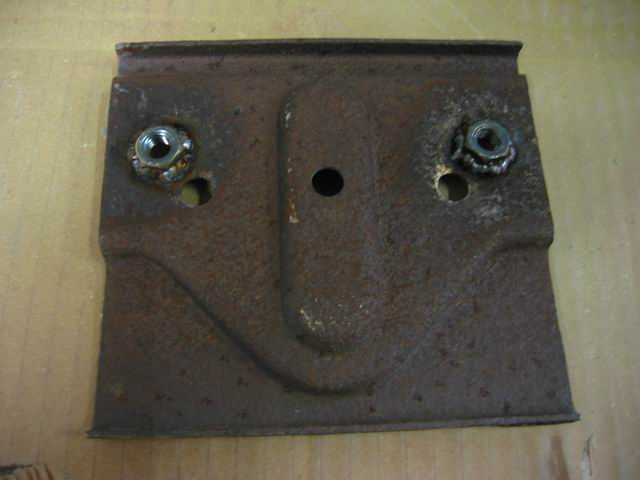


I think you should be able to remove the bumpers yourself; we might just be hobbyists but certainly not total nitwits? A brief inspection of my kombi's bumpers revealed the complete absence of the mounting nuts, which are supposed to be welded into the bumper brackets...
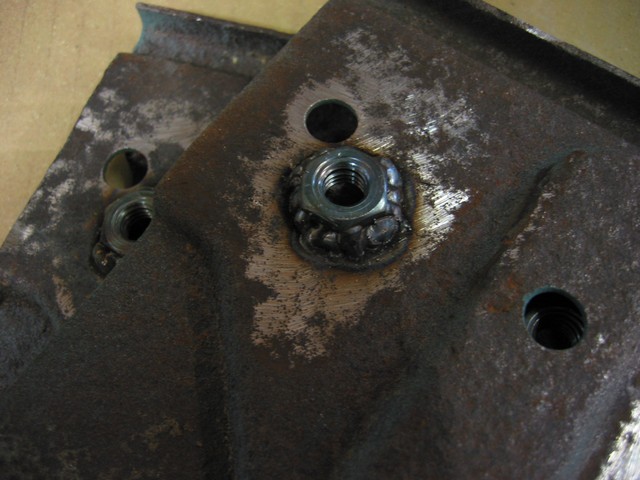
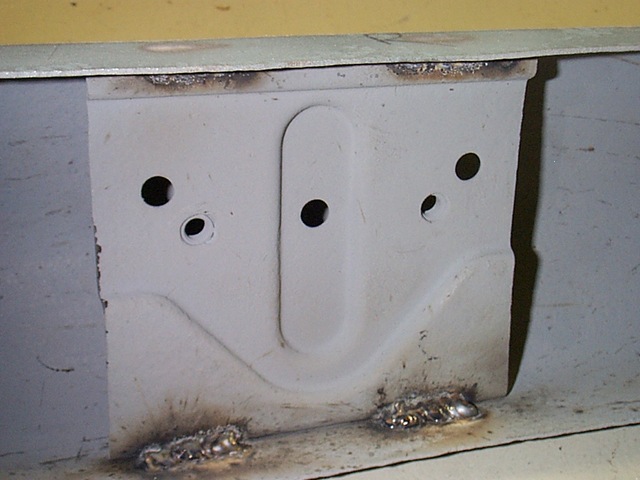
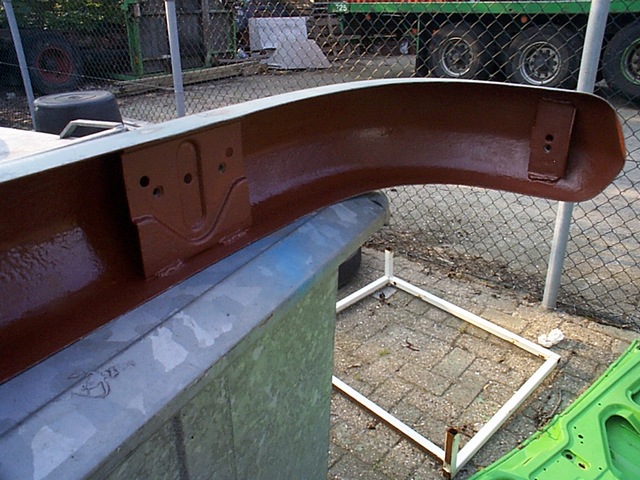
It is quite a difficult job to reach these nuts while the brackets are still in place; luckily my trusty angle grinder made these nuts much more accessible. While you are at it, take the opportunity to clean the areas behind the brackets from rust and finish with a nice primer colour of your choice.
Completely new to me was the existence of nuts specially designed for welding. They seem to be identical to normal nuts, except for one side, which has some raised points on the edge. This makes the nut stand approximately 1 mm above the surface that allows the weld to flow between the nut and the surface, which gives you a much stronger weld. After I replaced all the nuts, I welded the brackets back into the bumpers.
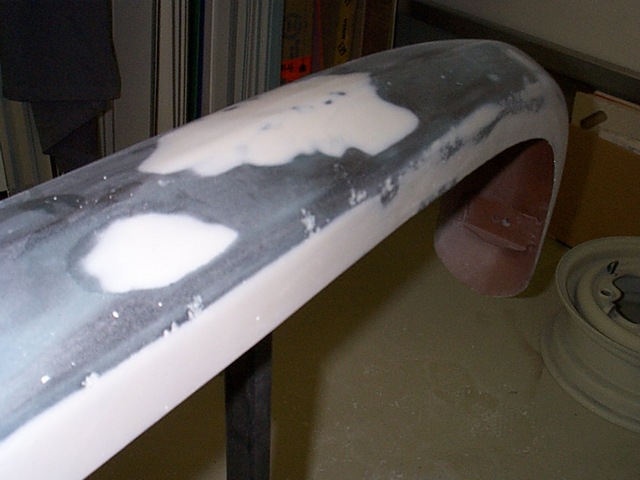
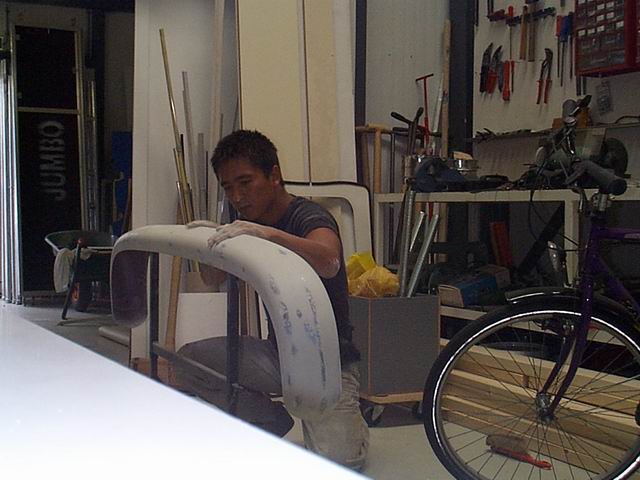
After I witnessed a guys doing their thing with filler at the local car repair shop, I thought I should give it a go myself. Of course, I should have known that this was going to be a shitty job; so here are some tips from hands on experience for you to benefit from:
- Make sure that you remove all remainders of paint or primer as filler doesn't seem to hold very well on old paint;
- Degrease and remove dust before applying filler;
- Do not think one layer of filler will get you there, take your time;
- Fill, sand down, fill, sand down... more than 3 times is really not exceptional;
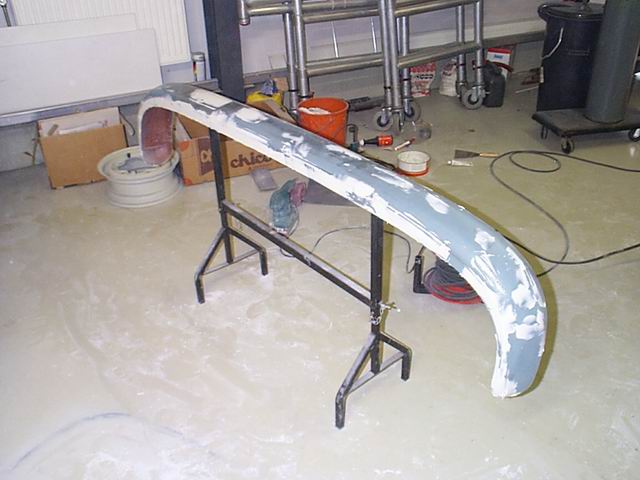
- Use sandpaper grain 80 up to 100 to get the filler into shape;
- When you’re satisfied with the shape, use spray filler to finish;
- Use grain 180 up to 240 to sand down the spray filler;
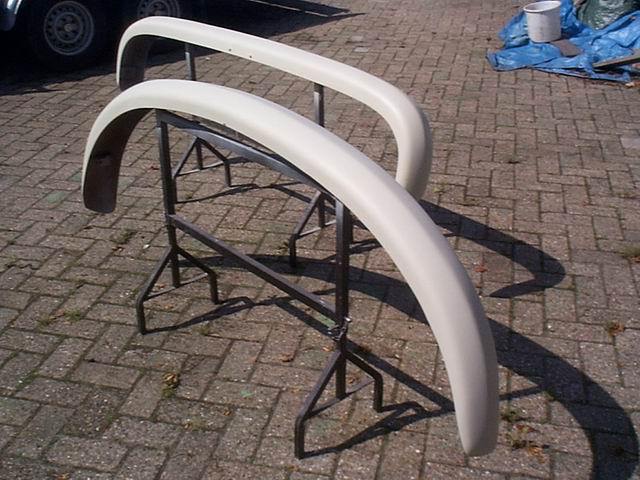
- Repeat the step above until your satisfied.
Health Tip: Use a dust mask when working with filler; filler definitely does something to your bairn... uhum... brian.. uhm... head!