Rear Axle


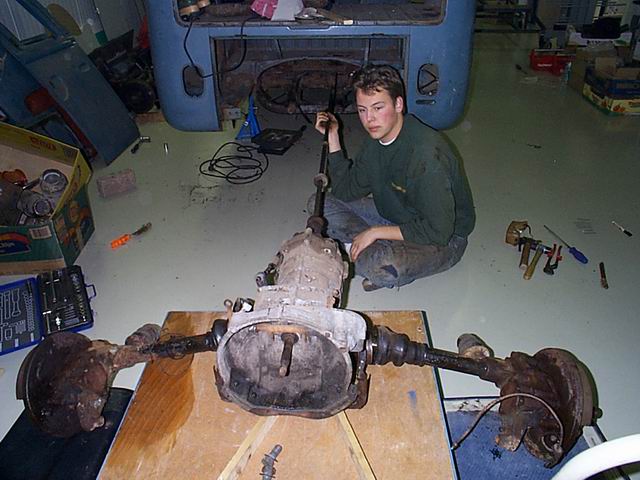

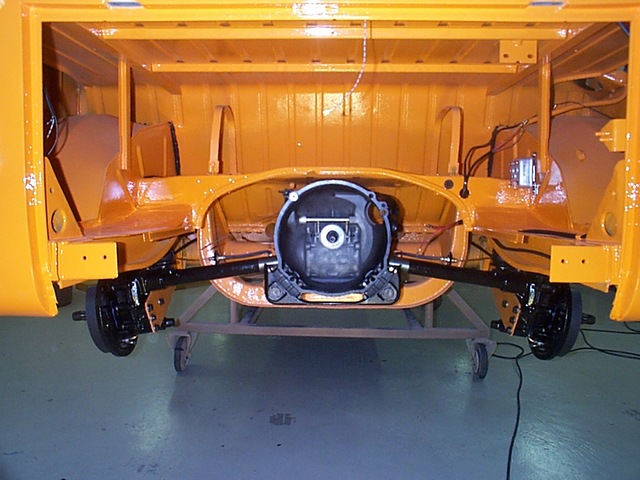


To be able to properly inspect and rebuilt the rear axle, you will have to remove the entire gearbox which includes the rear axles. It is not as hard as it looks if you do it in the right sequency:
- Remove the rear bumper;
- Remove the engine (loosen electrical wiring, acceleration cable and fuel line);
- Remove the brake hoses (empty the system or clamp the hoses);
- Unhook the hand brake cables, and;
- Don’t forget the shock absorbers!
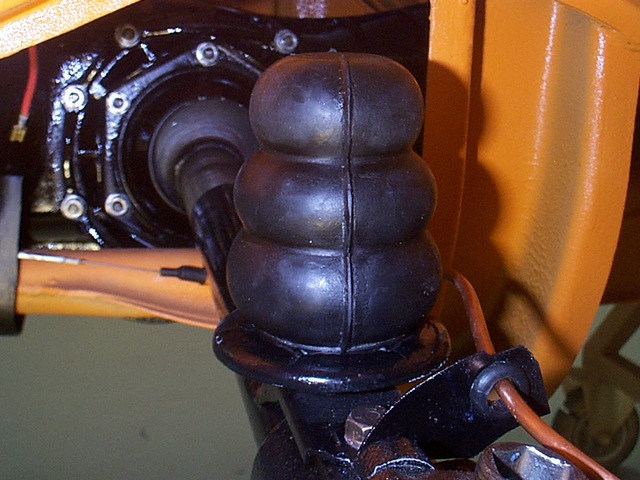
The rubber protection around the hand brake cable that is fitted to the backing plate can be pulled out (no thread). You might require some penetrating oil, or depending on the state of your axles, a lot of penetrating oil!
The next step is to remove the oil from the gearbox and reduction boxes. Do it now and don’t open up the assembly before the last drop of oil is out; gearbox oil is a thick, syrup like substance and you are better off not having it all over the place like we did (and this is how we learn...). Underneath the gearbox you will find two plugs that allow you to drain the oil. You will need a rather large size hexagon key to loosen these and if you don’t have this in your toolbox, try welding a nut to a bolt; worked fine for us! You will find the same size plugs underneath the reduction boxes; the ones on top are for filling.
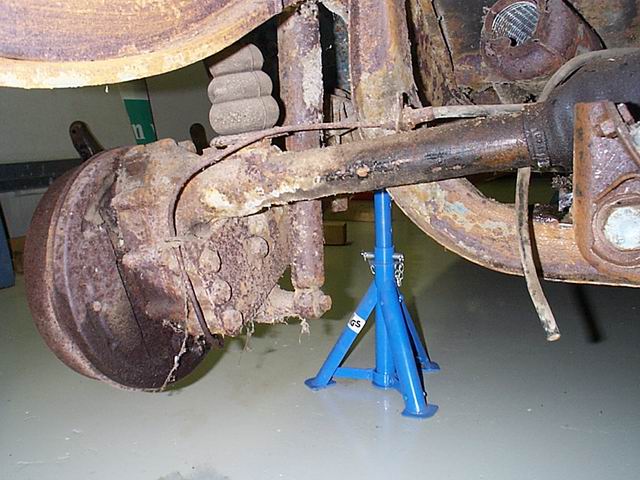
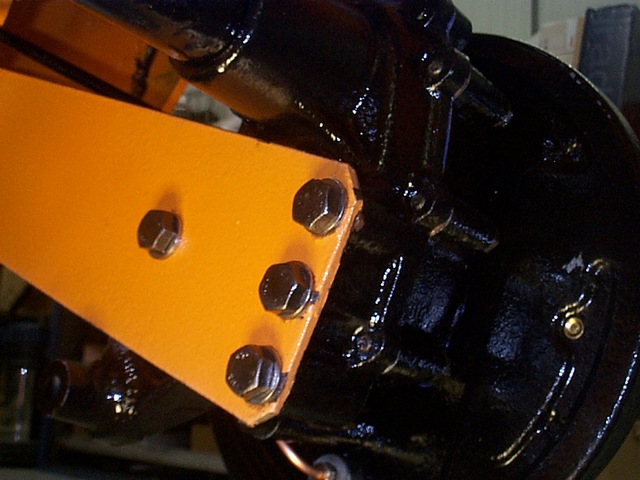
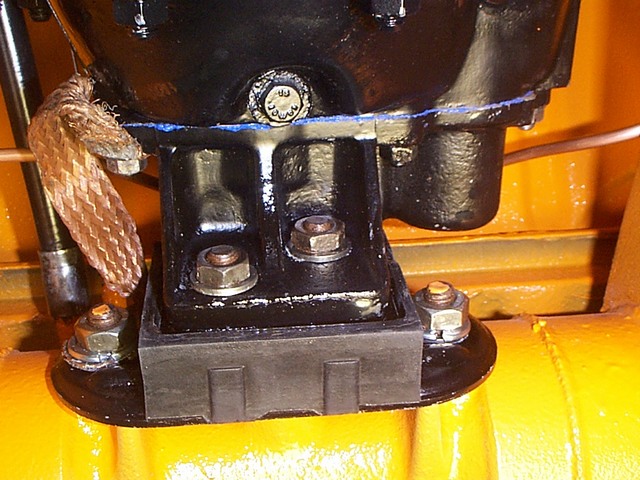
Now that we have removed the oil we can lower the gearbox and axle assembly. Make sure the entire assembly is well supported by either a jack or blocks of wood. Loosen the bolts that attach the reduction boxes to the spring plates (4 at each side). Next, loosen the bolts that attach the gearbox to the chassis; two big ones at the rear and two at the front, near the gear-changing rod. If possible, loosen the coupling on the the gear-changing rod before lowering the entire gearbox-axle assembly, so you will not need an additional 3 meters of free space behind your van…
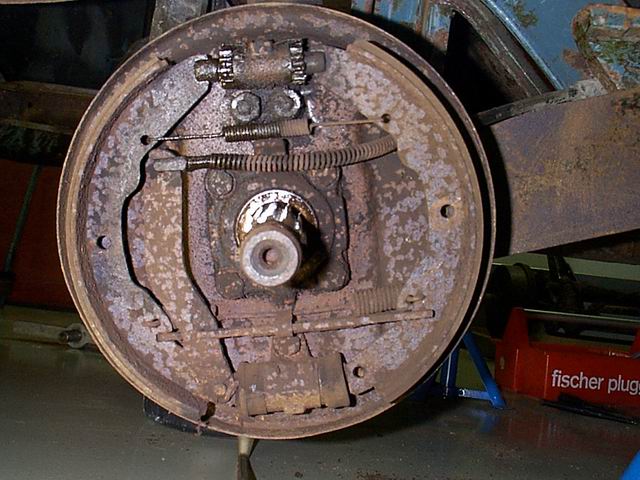
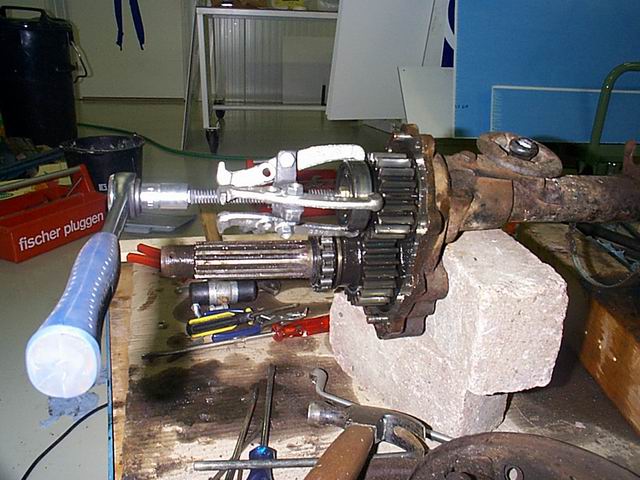
Before you can separate the axles from the gearbox, remove the brakes. As soon as you have removed the brake shoes and brake cylinders, you can remove the four bolts that keep the oil seal in place. When this is removed, you should be able to remove the back plate of the brake assembly. Now you can reach the bolts that attach both reduction box halves; loosen and you can take off the outer half. Use a pulley extractor to remove the bearing at the end of the axle. Before doing so, make sure you removed the little clamp which keeps the bearing in place. When the bearing and the gear have been removed from the axle, you can slide the reduction box and axle cover off the inner axle and remove the assembly from the gearbox.
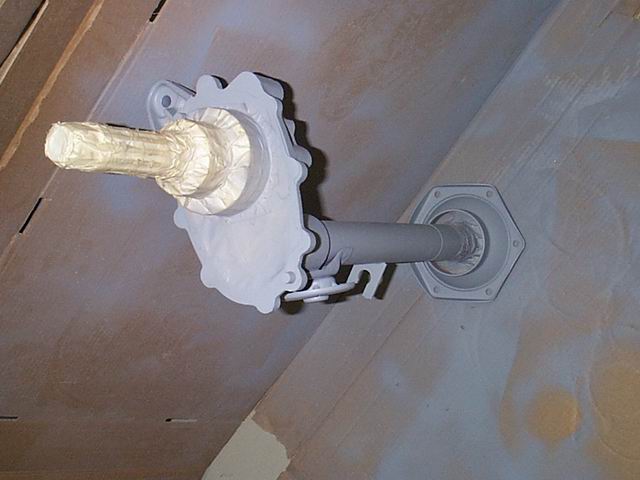
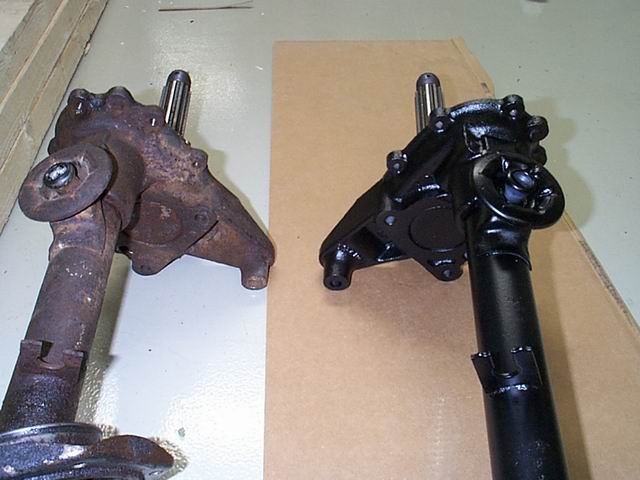
Having disassembled the gearbox into more manageable pieces, we sand blasted the rusted axles and reduce boxes. Making sure we carefully protected the insides, so the sand would not damage it. As we didn’t have the proper tools to remove the inner reduction box half from the outer axle shaft, we decided to leave it all together and just practice some extra caution sandblasting the axle shaft. After several layers of primer and paint and dimensional checks on the bearings, the axles were ready for another couple of decades of service!