Wheels
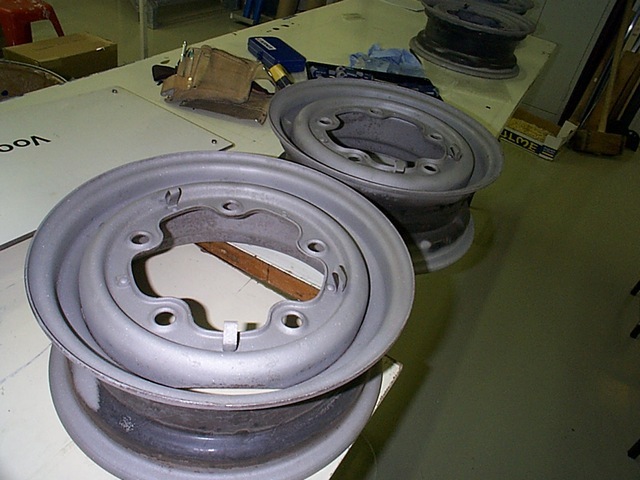
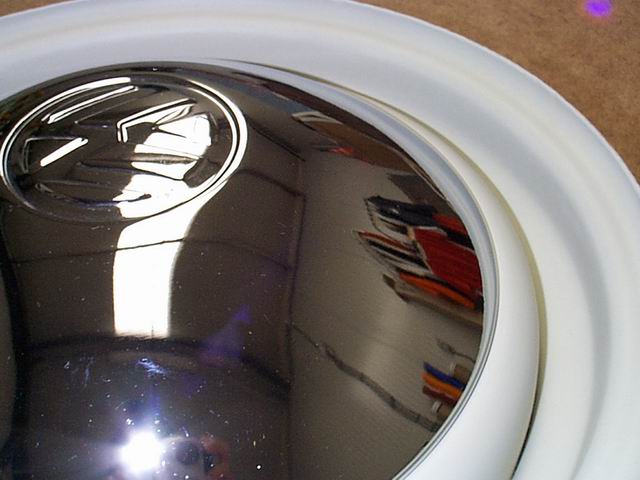
The plan is to keep the entire van the way it was designed back in the days, so no crazy alloys but stock 14 inch wheels for this baby. They have proved to do the job pretty well over the past 40 years, so who am I to change this? Unfortunately, the steel wheels have suffered from being around water and dirt too long, which has definitely not improved their looks.
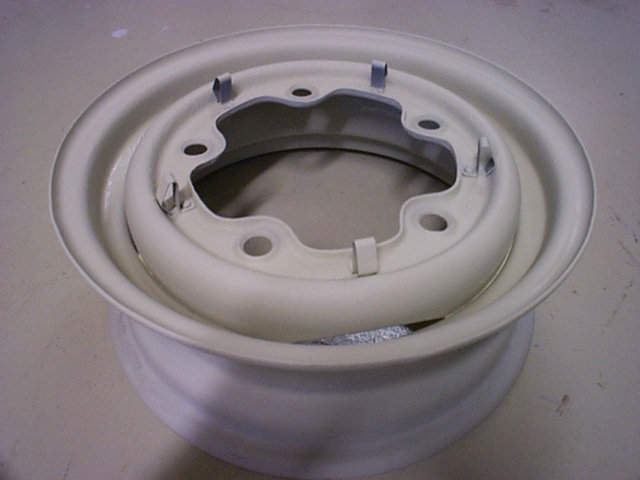
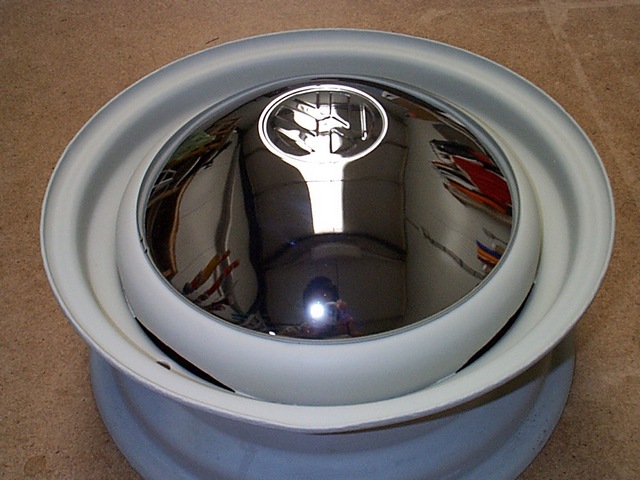
After sandblasting and the initial layer of primer, we used the original riveted method to install the new hubcap clips on each rim. After this, they ended up in storage, after which I lost sight of this little project.
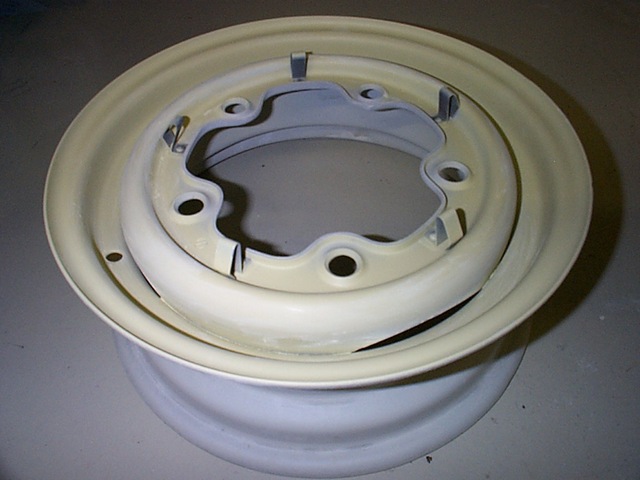
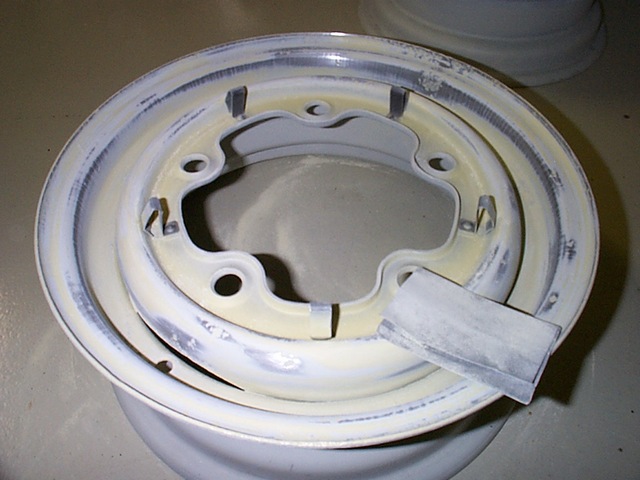
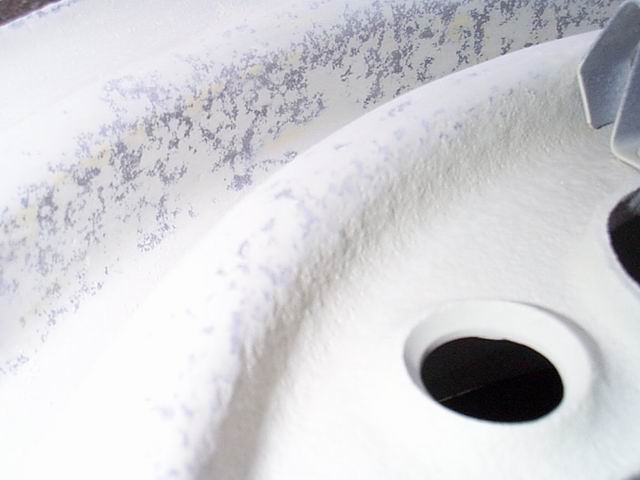
So, after a while, I did another one of my archaeological discoveries: covered in dust, there they were, untouched for a year! No more postponing; I decided to get on with this seemingly unpleasant job. As you can see in the photos, the wheels were pretty heavily corroded. It seemed to complicated to fill up these irregularities with ordinary filler as most places are pretty hard to reach: I chose to solve the problem with spray putty, which should be available at your local DIY or car accessory shop. There are two different types of spray putty:
- Heavy Filler (yellow), can be used to fill irregularity up to 1 mm deep.
- Fine Filler (grey), suitable for finishing of shallow irregularities of less than 0.5 mm, also a good choice to finish your Heavy Filler work.
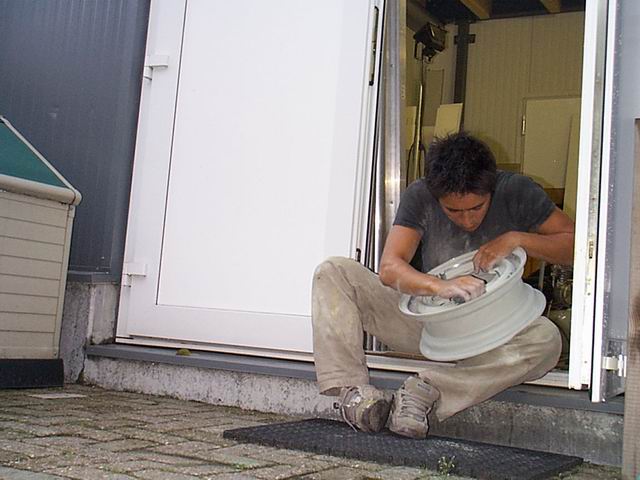
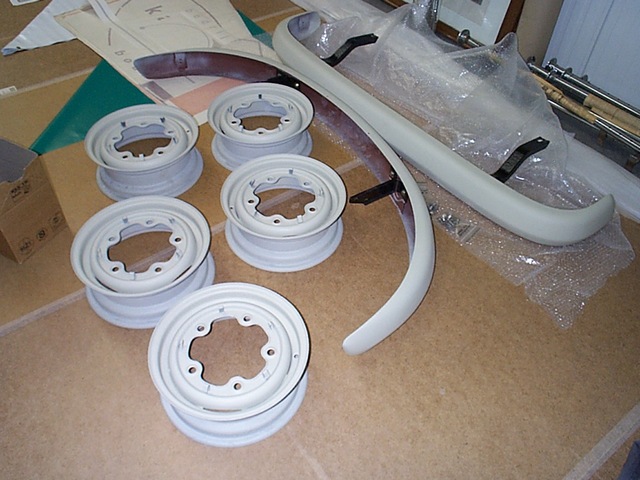
After the Heavy Filler had dried, I used rough sandpaper (grain 80) to sand until the steel becomes visible again; the photos clearly show the filled holes. Just repeat the process until all holes are properly filled. For sanding down the Fine Filler, I used grain 180 for the first layers and finished with grain 240 on the last layer, preparing the rims for paint.
It's not one of the most fascinating jobs and definitely not a quick one. Looking back at the time I spend on those 5 rims... I must have spend over 15 hours. However, I'm sure I'll be satisfied when they’re painted and ready to take me and the van out for a spin!
