Transmission


Removal of the transmission and disassembly of the axle shafts is described in the rear axle article and of course in your workshop manual.
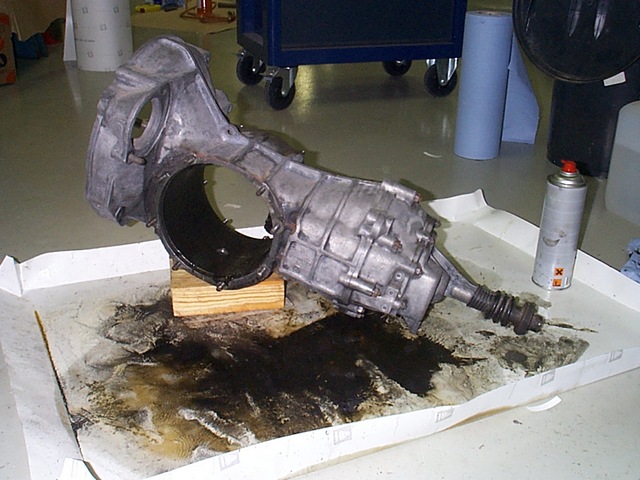
Initially, the inside of the transmission seemed like a magic box to us, which made us decide to leave the assembly in one piece. We started cleaning the outside of the transmission and axles with metal brushes that took a lot of time and beer or a lot of beer that caused us to take a lot of time… Eventually it proved to be worth the effort!
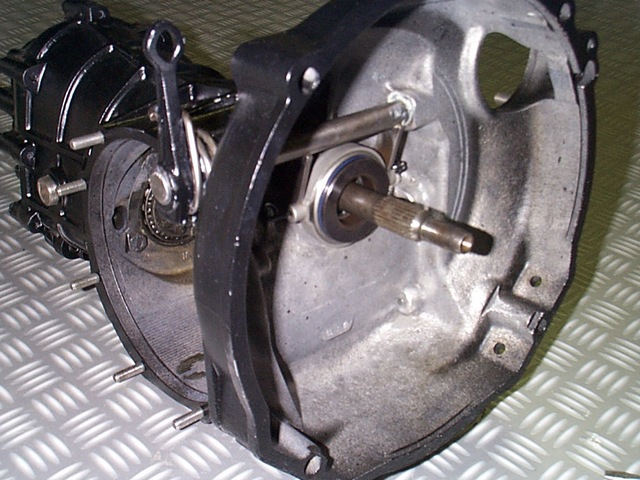
With the exterior cleaned, we ventured into opening part of the transmission and removing the differential. We had the differential inspected by a professional mechanic who did not see any need to further disassemble the transmission.
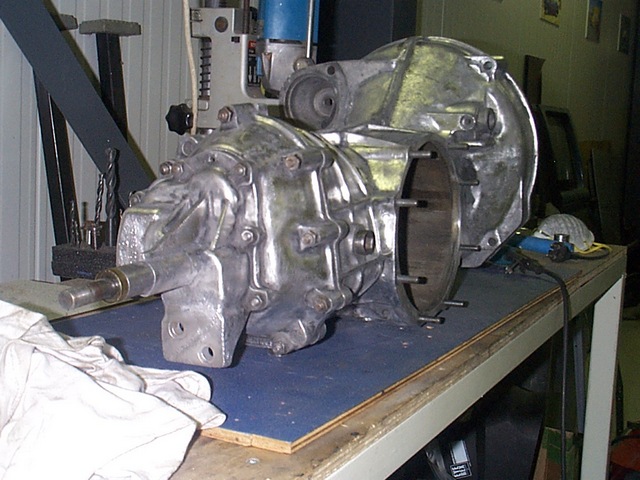
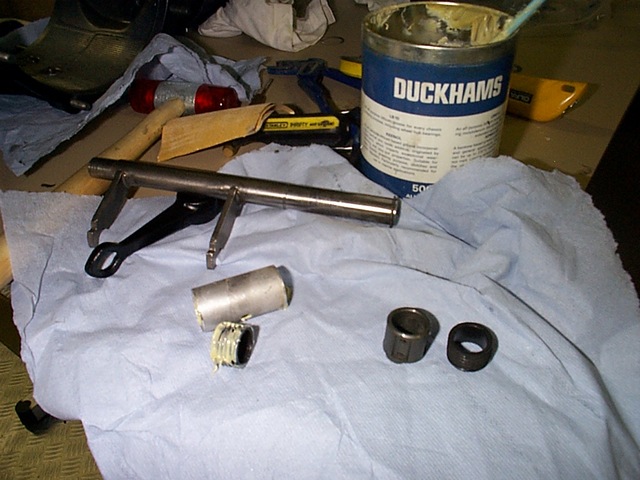
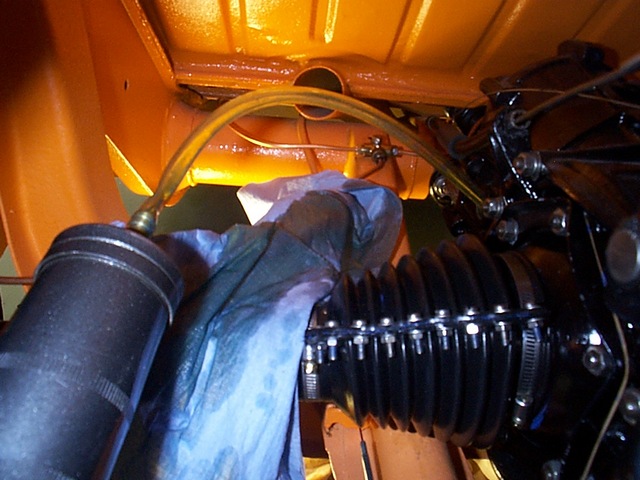
After we primed and spray-painted the transmission, we started working on the clutch assembly. A close visual inspection of the drive shaft revealed that the drive shaft seal had completely dried out as it literally crumbled in my hands during my attempt to remove it. New drive shaft seals are cheap and can easily be obtained from your local VW shop.
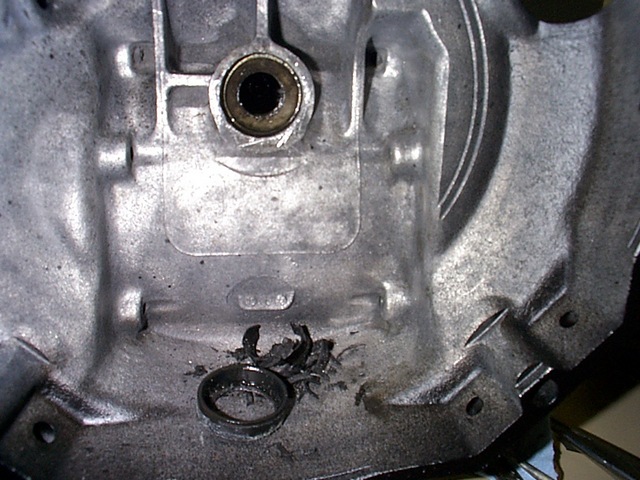
Before you can install this seal, you will have to remove the drive shaft itself: loosen the clip on the drive shaft at the inside of the transmission and screw off the drive shaft. Be careful not to damage the seating surface when removing the old drive shaft seal, as this might cause leakage further down the road. I used a small knife to scrape out the remainders of the old seal.
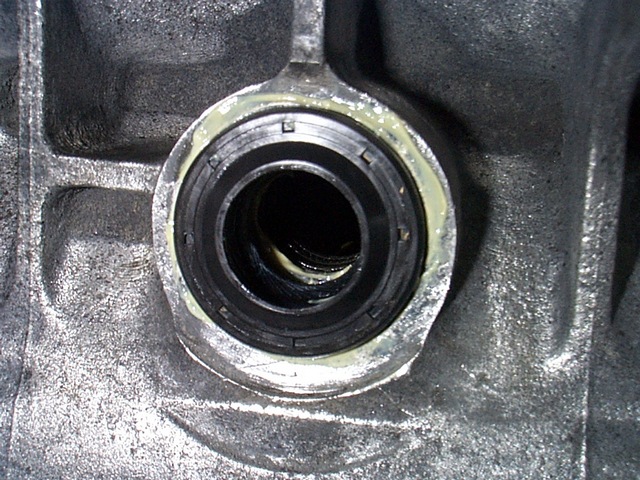
Before installing the new seal, grease both the seating surface and new seal and use a rubber hammer to gently tap it into place. Install a new clutch bearing as you will not be able to reach it without removing the engine. Make sure you get the right clutch bearing for your make and model transmission.
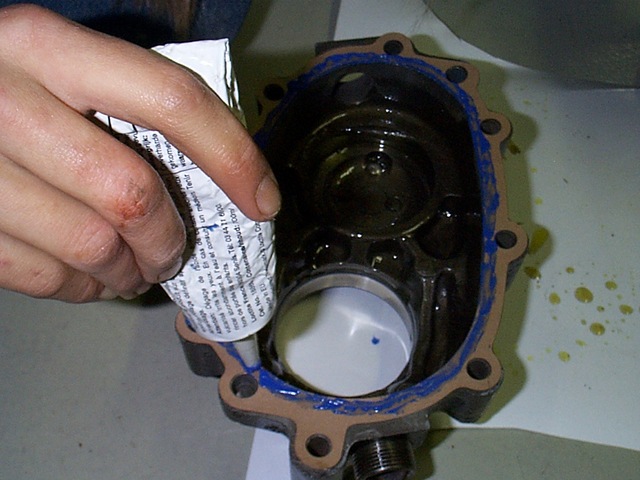
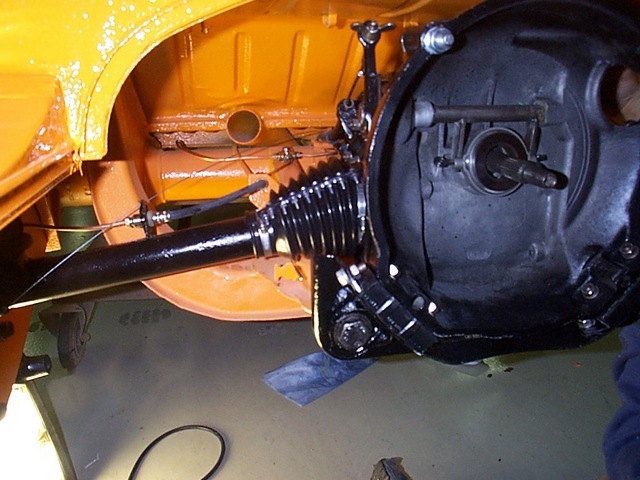
Once all parts were inspected and cleaned the transmission was reassembled by greasing all the parts (use new transmission oil) and using new gaskets between all the covers that had to be reinstalled. We struggled with finding the right gaskets and many as seen on the photos were hand made from new gasket paper. Tighten all the bolts and nuts in accordance with the specified torque values in the workshop manual and store the transmission for final installation.
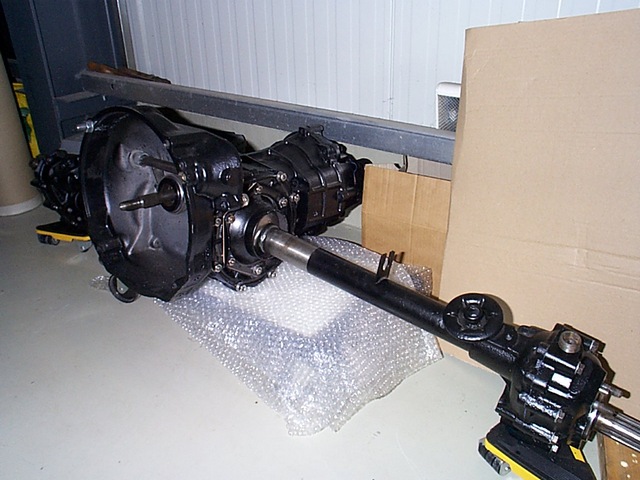
Once the bus came back from the painter, we left it on the trolley for installation of the transmission and rear axle. First install the shifter rod into the tube going to the front, use new plastic bushes if you can get hold of them. Use new transmission mounting blocks (always replace, they are cheap and not worth the hassle!) and use a jack to lift the transmission into place. Install all nuts and bolts on the transmission mounts and spring plate to reduction gear boxes. Torque to the specified values in your workshop manual. Finally, fill the transmission with new oil as it is much easier without the engine installed, ensure your bus is level as the transmission must be filled until it flows out of the fill hole.