Cargo Floor


For most applications a wooden floorboard will be a handy feature to prevent damage to your new paintwork and because a flat loading floor just allows for much easier loading and offloading compared to all those ridges of the original cargo floor.
What you'll need to install a wooden floor:
- Some large sheets of paper/cardboard
- Pen, knife and scissors
- Rubber blanking grommets
- 2x 12mm thick plywood (250x122cm)
- Jigsaw
- Construction glue, silicone sealant and a mastic gun
- Aluminium door sill
- Optional: T-nuts to install middle bench
Those of you lucky enough to previously have had a floorboard installed in your bus (and did not thrown it away) can save a lot of time by copying these old floor parts onto the new plywood. In case you are not satisfied with the fitting of your old floorboard or in case you did not have a one at all: grab a piece of paper and join us!
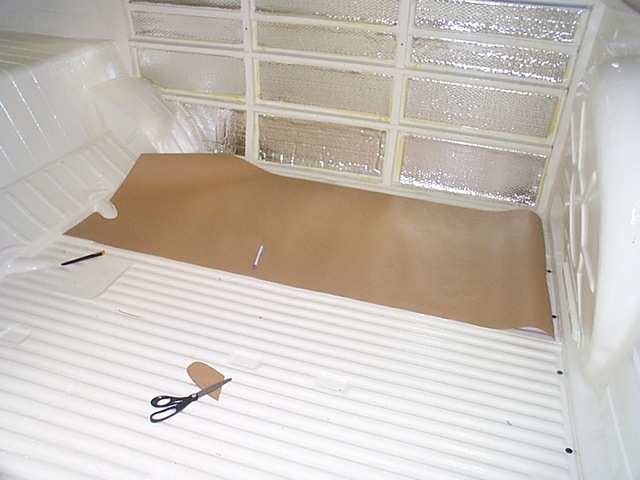
Preferably use a large piece of paper or some large cardboard boxes (from a TV set or something), taping a couple of A3 sheets together will do the trick as well. Spread out the sheet of paper in the cargo area and fit it tightly in the corners. Fold the paper around all corners and curves along the cargo floor (heater pipes, fenders, etc.) mark all folds with a pen and cut the paper model into shape.
NOTE: to prevent you of running into trouble later on in the process, make sure you close the doors when making the paper model on the side of the cargo doors. Conduct a test fit of the paper model, check and adjust where necessary and copy the model onto the plywood, after which you can cut it into shape using your jigsaw.
Cover the holes in the cargo floor with the rubber blanking grommets to prevent splashing water from entering the interior. The new wooden floor will cover the entire cargo area so no water will come between the wood and the metal as we will seal it off from the top as well. If you have some rusty areas; now is the moment to treat them, before we install the new wooden floor.
Optional: if you have (or are thinking about installing) a middle bench, now would be a good time to install the T-nuts in the wooden floor. Mark the fixing points of the middle bench on the floor, drill the holes and install the nuts from the bottom side of the wooden floorboards: now you have a quick way of installing your middle bench!
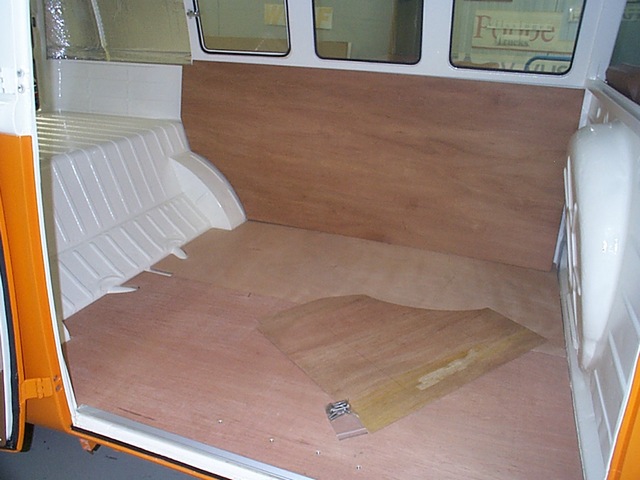
Installation: start with the inner half of the floor. Spray a thin layer of construction glue on the top of each 'ridge' of the floor and along the edges of the cargo area (only the first half, so you still have a place to stand!). The construction glue ensures that the floorboard is firmly fixed and prevents noise due to vibration. Install the floorboard gently on the prepared area of the cargo floor and press it gently. Repeat the same process for the second part of the floor.
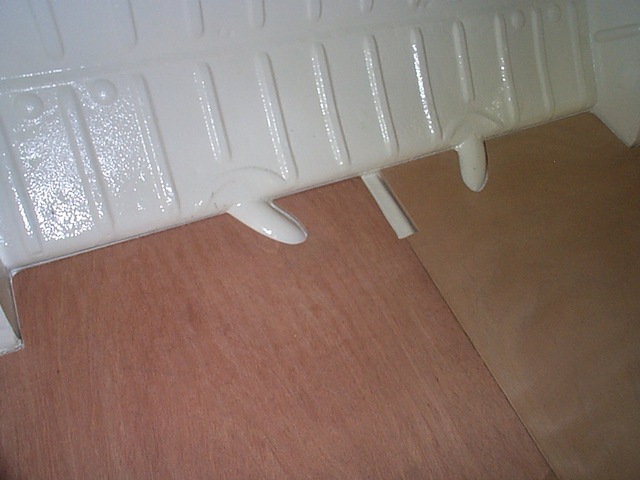
Once the floorboards have been bonded, use the (transparent) silicone sealant to seal the gaps around the floorboard and the gap in the middle between the two parts. To finish your new cargo floor you may decide to varnish it, cover it with linoleum or a mat that can be made using the same paper model that you used for the floor. When you decide to go with linoleum it is useful to glue it in place with contact glue.
The last step in the process is cutting the aluminium sill and installing it on the edge of the floorboard at the cargo doors: there you go, your new floorboard is ready!